 We all know it's important to keep our nail brushes and detailers clean, so it's important to clarify the best ways to make sure they're always in the best condition. One of our lovely Educators, Ilex Wood, tells us all about this and gives some useful tips too:
How Important Is It to Keep Your Nail Brushes Clean? What Will Happen If You Don't?
We all love a pretty, sparkly nail brush, whether it be for art, gel, or acrylic application and often clients go "OMG I love your brush", and of course, we buy them because they are pretty! So we should really be looking after them so they can do the main job they are designed to do because our brushes are our main tool, whether it be for application or finishing with design work. An unclean brush can contaminate products you use after it, it will not work correctly for what you want it to do and will cause irreparable damage quite quickly, making it a costly experience for you. For example, a contaminated acrylic brush will be harder to control and move as you want it to and potentially cause yellowing/discolouration to your products as well as transfering oil if the brush has been touching the skin, causing premature service breakdown. This will also happen with your gel brush, and looks unprofessional in front of your clients if they are dirty, damaged, or out of shape.
What Are Your Top Tips for Keeping Your Nail Brushes Clean/Cleaning Your Brushes?
Prepping your brush for first use
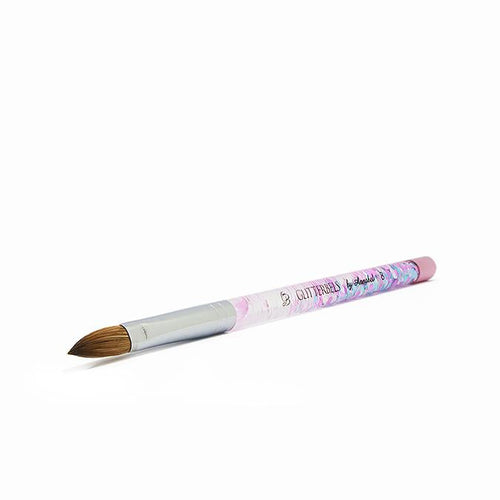
Most nail brushes, especially acrylic brushes, are manufactured with a type of glue/resin to hold the bristles in place after production to keep their shape until you are ready to use. It is vital this glue is thoroughly removed before use to ensure you do not transfer it into the product you are using. With an acrylic brush, it may also bind your bristles if you do not remove it before its first contact with monomer. To prep your acrylic brush, pop on a pair of nitrile gloves (this is so you do not add oils from your fingers to the bristles) and gently brush the brush across the glove. You may hear a snapping sound when you first bend the bristles but this is ok! Hold it up to the light and brush across the top to see the dust coming out, keep doing this until all the dust has disappeared (your brush may look super fluffy but don’t panic this is normal!). It may take around 10 minutes to do this so don’t rush the process, it will only need to be done once! Once all the glue and dust has been removed, put the brush into your monomer, making sure to fully coat the bristles and bring to a point on your tissue by wiping the 4 sides of your brush SEPERATELY - don’t twist! Another tip for your acrylic brushes when using the pastel glitter ones is to top coat the handle with a gel top coat to make it easier to clean and to prevent it from going cloudy.
Cleaning after use
Cleaning your brush after each use will keep it looking and working better for longer; an acrylic brush will only ever need monomer to clean it so once used, check for acrylic residue and bring back to a point before putting the lid on. If you have got residue in your brush, soak in your monomer for a few minutes before wiping and keep repeating until it's out, using clean monomer to give your brush its final clean before storing. For beads of acrylic fully hardened in your brush, I would recommend soaking in acetone and gently scraping it out (be very gentle when scraping as the natural hairs are very easily manipulated into changing shape!) but also getting a new brush (I always have a spare) as using acetone can be very drying and can also damage your brush further as it's very drying on natural hair so have a spare just in case! When it comes to your gel brushes, these only need cleaning in the medium you have used just like acrylic brushes, so only clean with gel! Once I have assigned a brush a job, I don't mix and match and just have one gel brush for dry brushing and another for my Unbelievabel Gel paint to avoid cross-contamination of products. To clean my dry brush gel brush after use, I wipe the bristles using my (gloved!) fingers with a lint-free pad to remove excess before placing the lid back on). To clean my gel art brushes and my Unbelievabel Gel brush, I wipe off excess with a lint-free pad and, using a small amount of top coat on a palette, I run the brush through and wipe and continue this process until the pigment runs clear before storing away.
Stray hairs
If you get stray hairs on your acrylic brush, it will go back into shape once you submerge the bristles in monomer. Gel brushes and art brushes being mainly synthetic hairs may not go back into shape. For a gel art brush, if this happens, run it through cleanser on a lint-free pad to remove excess gel and hold it downwards in hot water to help bring back the shape (I would only really do this to my detailers); allow to completely dry before running some top coat through them. If the hairs are super stubborn, DO NOT PULL THEM! They are all bound tightly together in the ferrule and if you pull a hair out, it will loosen the others. I would use a pair of scissors close to the base and ONLY snip off what is needed, and make sure to never snip the ends as they are cleverly tapered and will blunt the bristles.
Storage
Acrylic brushes should be stored pointing downwards (if your brush has a lid) or flat on its side. If it is stored facing upwards, the monomer can travel down the ferrule and breakdown the glue bonding them together and potentially damage your brush. Do not let your brush dry out as it is natural hair, so if you do, very little acrylic work may be done with it. It's worth checking in on your brush every few days. I also store my few brushes facing down or flat!
How Often Should You Clean Your Nail Brushes?
I clean my brushes after each use to keep them in perfect condition, although no brush will last forever. I will get as long as I can from it, as I am also a major brush hoarder so if one doesn’t fit what I want it to do, I find another use for it!
What Are Your Favourite Glitterbels Brushes and Why?
My absolute favourite brushes are -
- Acrylic Pastel Size 8 Brush, I love a smaller brush with long bristles!
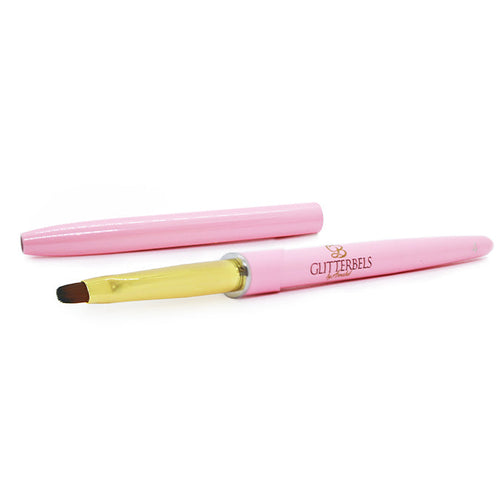
- Size 6 Oval Unbelievabel Gel Brush
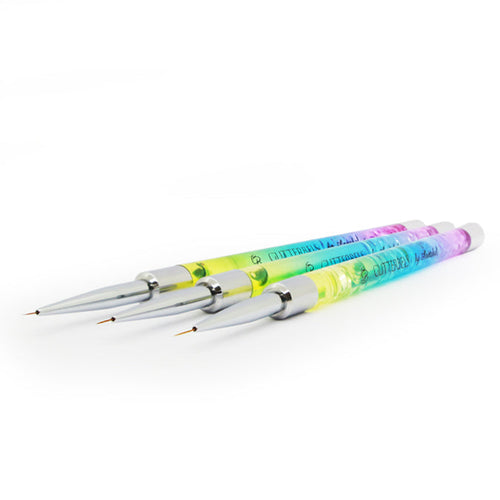
- Rainbow Detailer (smallest in the set of 3!)
I use these the most day in and day out and I have not replaced them in over a year. They're so beautiful and last really well!


